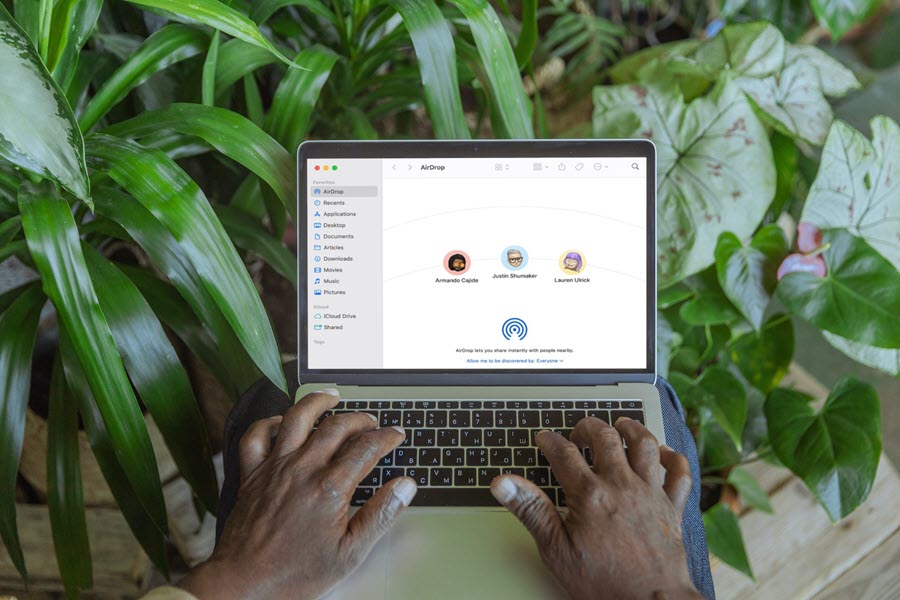
For all your file transfer woes, Apple’s AirDrop has the right solution. It saves you the need to upload your files to the cloud and then download them onto a different device. Rather, you can just send them wirelessly with a few taps of your mobile device or a few clicks on your Mac, and that too without compromising the quality. Also, the feature doesn’t require any elaborate set up so, getting started with it is super simple and covered in detail below.
How to use Apple’s AirDrop for transferring files between your own products?
There isn’t a limit to the size of the file you can AirDrop but just remember, the bigger the file, the longer it takes for the transfer to complete. So, if you’re still relying on an electronic mailing system to send photos to nearby friends or using a USB thumb drive to transfer a few files from your MacBook, do us a favor – stop it and try Apple’s AirDrop. It makes the process of transferring items like photos and files to nearby Apple devices wirelessly a breeze. Let’s find out what you need to do and how to use AirDrop on your iPhone and MacBook.
AirDrop on iPhone
First things first, the proprietary file-sharing feature from Apple uses Bluetooth and Wi-Fi for sending and receiving items. So, make sure you and your recipient have these settings turned on and both devices are within the range (30 feet).
When receiving items via AirDrop on iOS, you can have it set to accept items from the following,
- Receiving Off.
- Contacts Only.
- Everyone for 10 Minutes.
We recommend you enable the Everyone setting because of a glitch discovered in the Contacts Only setting. It was found, when the recipient’s AirDrop is set to Contacts Only, Apple needs to determine if your details are saved in that person’s contact list. To do this, Apple has to run an authentication process that compares your phone number and email address with entries in the other person’s address book. Although it obscures the info using a hashing function, researchers claim it fails to adequately protect the privacy of the data.
So, open Settings, go to General, and expand AirDrop settings.
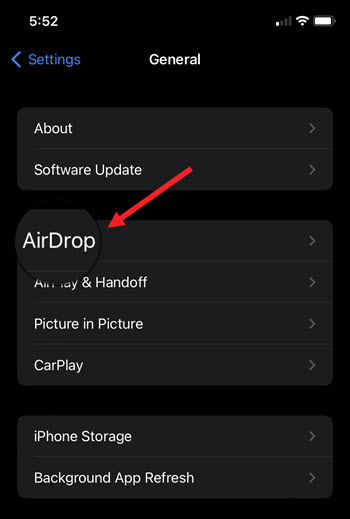
Next, select the Everyone for 10 minutes option by tapping it.

Go to the location of the item you would like to share. Hit the Share button located at the bottom of the screen.
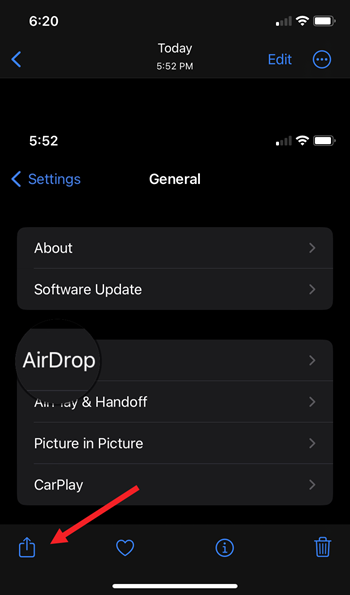
Choose the AirDrop option.
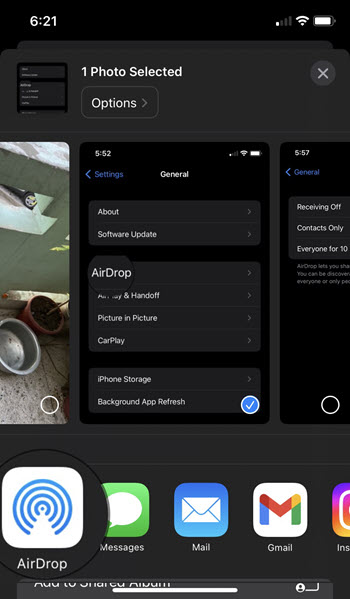
Select the contact from the Other People list. Request the contact to accept the item sent.
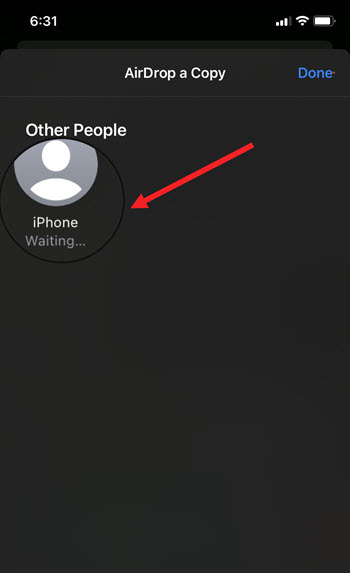
In addition to dropping files on another iPhone device nearby, sending files from your MacBook to your iPhone through AirDrop is equally simple and convenient.
AirDrop from MacBook to iPhone
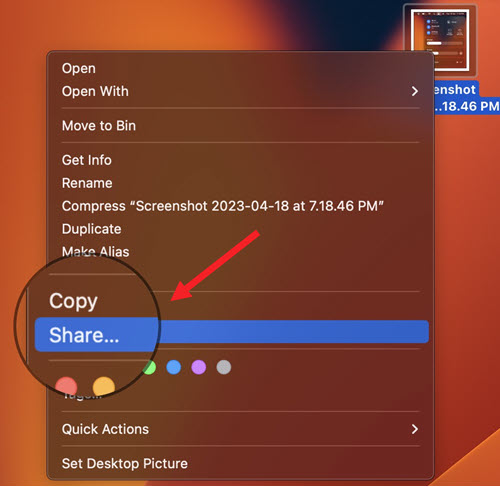
Right-click the file you want to send through AirDrop and select the Share option.
Scroll down to the AirDrop option.
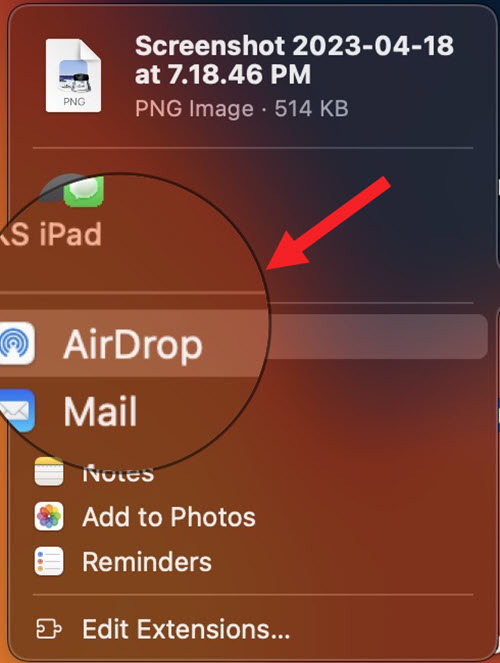
Make sure the, Everyone option is selected when sending items via AirDrop on Mac.
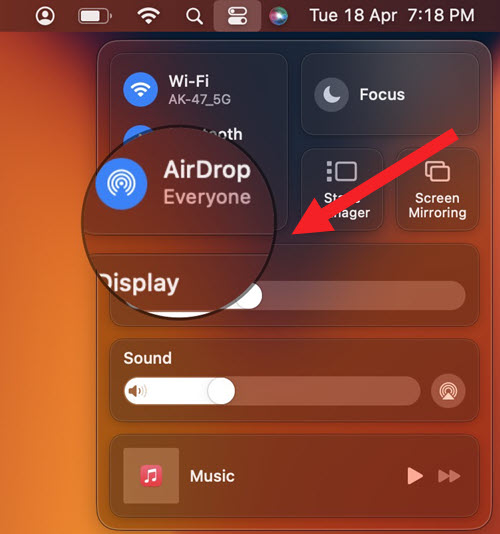
When the recipient’s device pops up on your desktop screen, double-click it to send the files.

That’s how you can use AirDrop to swiftly fling files to any person within range in a safe and respectable way.

