Last updated on August 4th, 2024 at 06:59 am
It can be helpful to know how to convert pdf to jpg on a mac if you simply want to share a small snippet from the entire PDF copy and upload it to social media. That way, you can share the content you want without uploading the rest of the file. Also, saving the part of your PDF copy as a JPG or PNG file will preserve the image quality of the original.
How to convert PDF to JPG on a Mac?
If you are wondering How to convert PDF to JPG on a Mac, let me tell you it is an easy enough process. Plus, you don’t need to turn to any online converters or software solutions. There’s a built-in conversion feature in macOS to help you streamline your conversion workflow and change a pdf to JPG.
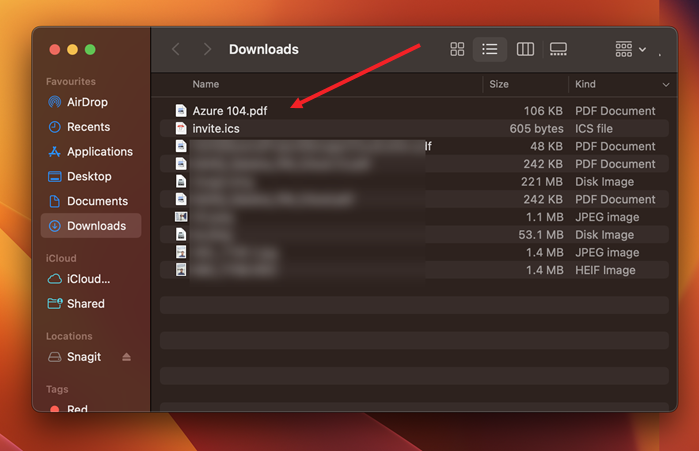
Go to the location where your PDF file is saved. In my case, the PDF file I was looking to change to JPG or JPEG was stored inside the Downloads folder.
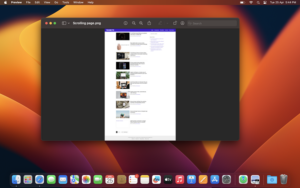
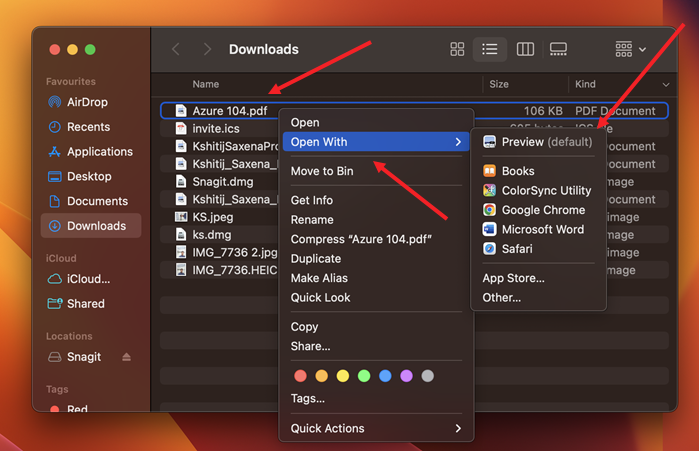
Right-click the PDF file, expand the Open with menu, and select Preview. It is the built-in image viewer and PDF viewer of the macOS operating system.
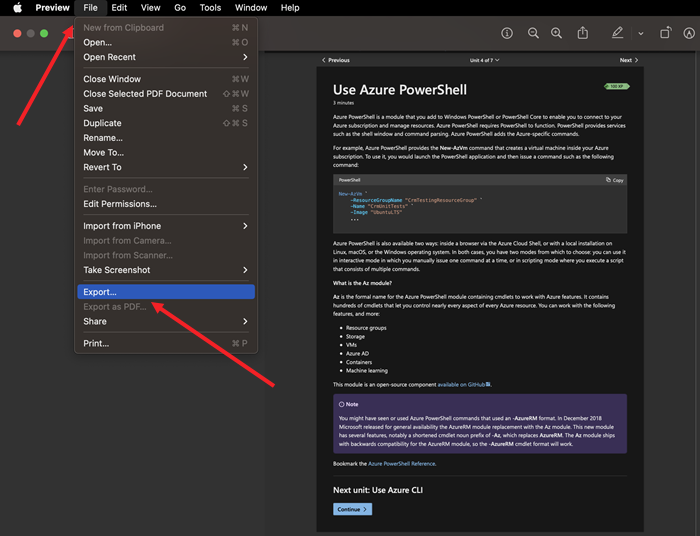
When Preview opens the PDF file, go to the File menu, and scroll down to select the Export option.
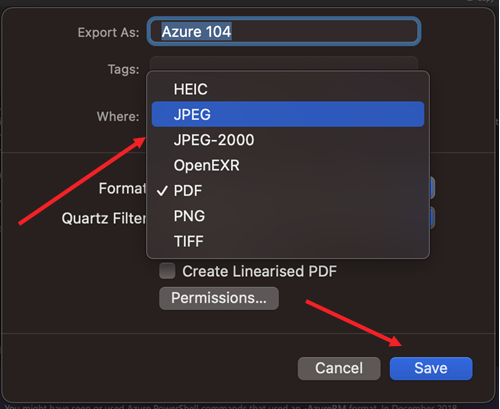
When a popup window appears, look for the Format option. Hit the Drop-down menu next to it to display the list of available formats.
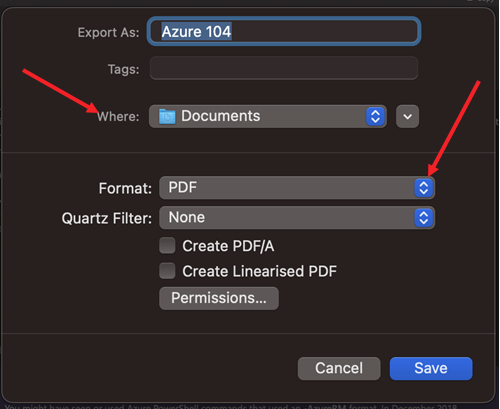
When you see the different formats listed, scroll down a bit to select the JPEG option. Then, hit the Save button to confirm your changes.
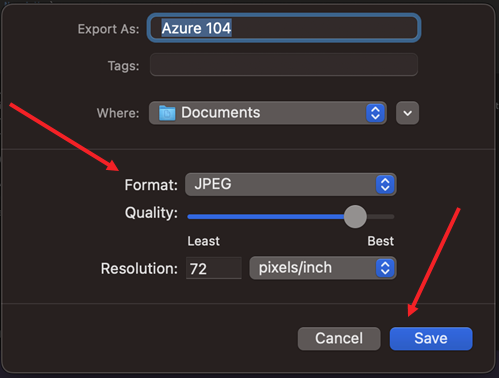
You can manually adjust the quality of your image file, if required, and save it.
So, despite the benefits of the PDF file format, if there’s an occasion where you need a different format for a different job, use this built-in conversion feature to change a pdf to jpg.
Hope it helps!
Also read: How to change Time zone on MacBook to make it display correct time info.

