Last updated on August 7th, 2024 at 06:52 am
The pointer in iOS that you sometimes use to click icons can double down as an iPad or iPhone cursor. So, if you don’t mind fiddling a bit around with your iPhone, try connecting a mouse to it and see how it works. Here’s a guide on how to use a wireless mouse with iPhone!
How to use a wireless mouse with iPhone
Apple surprisingly includes mouse support for iPhone and iPad. The feature, however, is not readily apparent since it hides deep inside accessibility settings. That doesn’t mean you cannot access it. Read this tutorial to find how to get to those settings and tweak it to use a wireless mouse with iPhone!
Tap the Settings icon on your iPhone home screen to go to the Settings screen. Scroll down to Accessibility settings and tap to open it. Then, under the Accessibility settings screen, navigate to the Physical and Motor section.
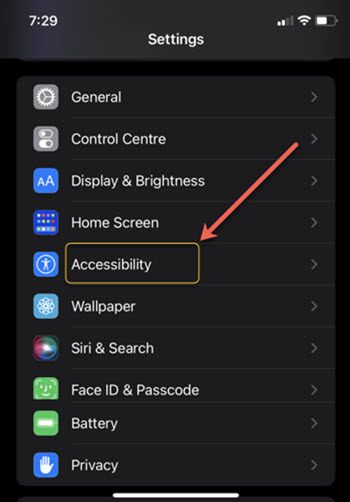
Under Physical and Motor section, tap the Touch entry.
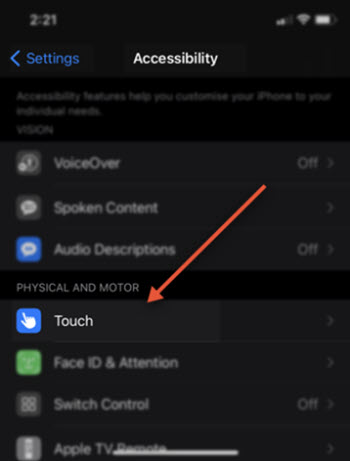
Check if the Touch option is enabled. If not, toggle the switch to the On position.
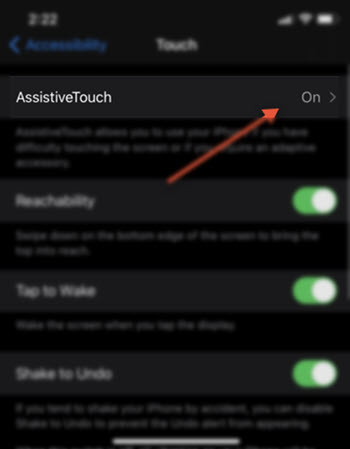
Scroll down to the Pointer Devices section and tap the Devices entry to expand its menu. Tap the Bluetooth Devices option to make any Bluetooth devices nearby available to connect. When found, pair your Bluetooth mouse.
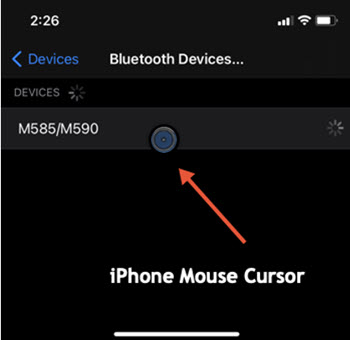
Instantly, an iPhone pointer icon should become visible on your phone’s screen. You are now all set to control your phone’s screen and its options via your Bluetooth mouse.
What is pointer style on iPhone?
It refers to making changes in the appearance of the mouse pointer you would like to use to click icons on your screen that you might otherwise tap. For instance, you can adjust or change the pointer’s color, shape, size, scrolling speed, and more.
Please note that the experience of using a mouse with your Apple device takes some time for getting used to as it isn’t a typical mouse pointer. It’s just a cursor that more or less mimics your finger.
Having said that, every Apple product is designed keeping accessibility options in mind. So, even a visually impaired person can take group selfies and do things like a regular person.

