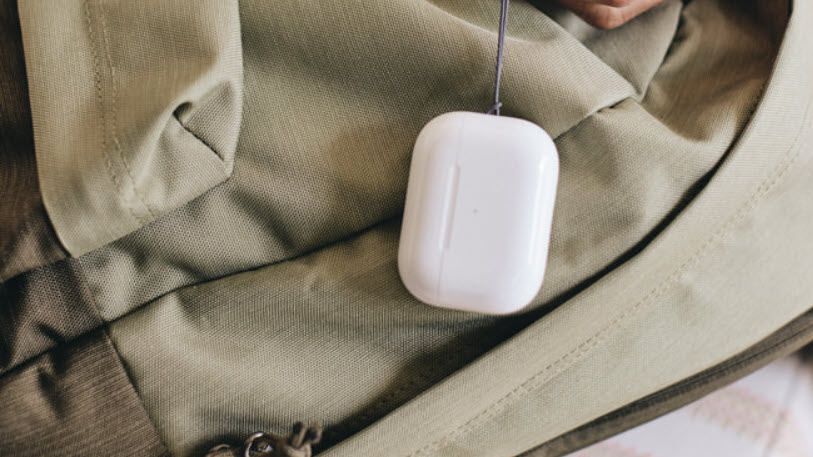
Apple’s wireless earbuds pack a range of subtle tweaks that will make you appreciate it but not everyone would want to control its functions through the phone or Settings. For them, Apple has put the AirPods Pro controls on the bud’s tiny stem itself. Our request to you is just don’t complain if you find the gestures a little fiddly initially!
A guide to all your AirPods Pro controls and their function
Without having any knowledge about your AirPods Pro controls, you can disrupt a call or a song by triggering some unwanted commands. Also, it’s equally annoying to reach out for your phone every time and manually adjust the settings there instead of just on the AirPods. So, incorporating touch controls to switch between different functions is something you should not miss to learn. It will surely improve your experience.

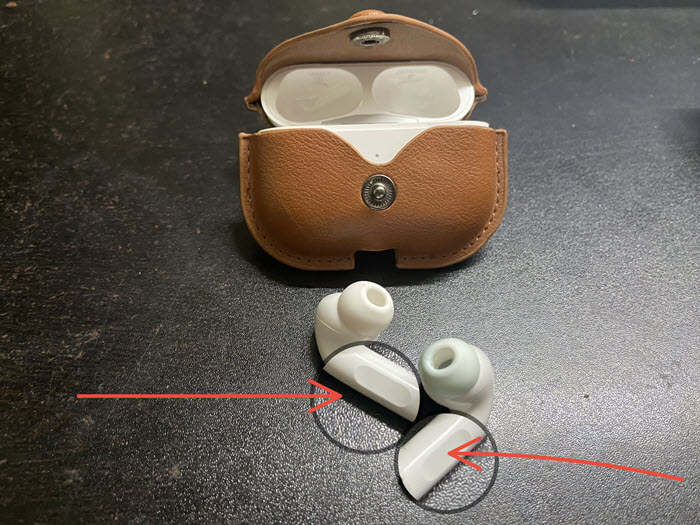
Just to spell out the obvious, there isn’t actually a button for managing controls on AirPods Pro or AirPods Pro 2 (AirPods Pro 2nd Generation) but a stem that has the same functions as the button. It’s called a Force Sensor, an indented portion of the AirPods Pro’s stems that’s capable of measuring not just capacitive touch but also pressure. This sensor enables physical control for managing music and calls, as well as switching between different types of noise-cancellation modes.
1] Single press to pause
When you’re totally immersed in listening to music and someone wants to talk to you, the instinctive response is to remove one of the buds out of your earhole. Why? In ordinary headphones, the music will keep on playing while you continue to communicate. That’s not the case with AirPods Pro. Just press the stem of your left or right AirPod bud with the Index finger while your thumb sits behind to pause it.

2] Single press to resume play
Once your conversation is finished and you want to restart the music, press the stem again gently to continue your session.

3] Double press to skip forward
Control the flow of music by pressing the stem of either your left or right AirPods Pro. For example, double press the stem with your thumb and forefinger until you hear a low click. The action will skip forward to the next track.

4] Triple press to skip backward
If you would like to go back to a previous track or move to a song you played a few minutes ago, triple-press the stem to go backward and find it in the list.

5] Swipe up/down on the stem to control the volume level
AirPods Pro 2 (AirPods Pro 2nd Generation) supports an additional gesture for volume control. You can swipe up on the stem to increase the volume or swipe down on the stem to lower it. Both times, you’ll hear an audible click in your ear.

Lastly, long-press to switch between noise control modes. How? Using two fingers, squeeze the flat indention on the edge of the AirPod stem (either right or left bud) until you hear a click in your ear. This will let you switch between noise control modes easily.
Are AirPods Pro touch controls not working?
This is one of the most common and nagging issues with wireless earphones. For AirPods Pro, you can try to hard reset them. Put both earbuds back in the case and press and hold the pairing button until the notification light turns red/orange. When the light flashes to white, bring them near your phone and re-pair them.


