One of Apple’s main operating systems is macOS and it incorporates a simple way to capture what’s there on the screen. However, unlike Windows computers, Apple desktops and laptops don’t come with a default Print Screen key. So, taking screenshots on Mac or MacBook might appear a bit tricky, especially if you are moving from Windows to macOS. Thankfully, there are one or more ways to capture screen on Macbook. So, whether you want the whole screen or just part of it, here’s how to easily grab it.
How to capture screen on MacBook using built-in options
One of the quickest ways to capture screen on a MacBook is to use macOS keyboard shortcuts. Alternatively, you can open the screenshot tool via Launchpad. After capturing the screenshot, you can then edit it or have it saved to the desktop as a PNG file. The method can be immensely useful for capturing images of payment receipts, photos, or tweets before they disappear down the deletion black hole. Read on to learn how to capture screen on a Mac or MacBook.
Using Launchpad
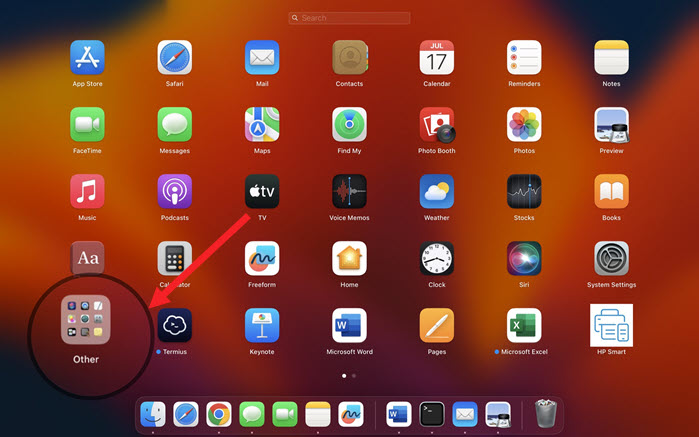
To open the screenshot tool without using any keyboard shortcut, open the Launchpad from the Dock.
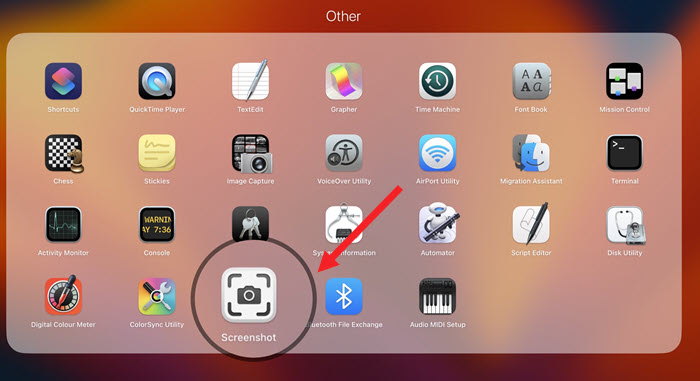
Navigate to the Other section and click to expand it.
Locate the Screenshot entry and click it for taking screenshots on Mac.
Using Keyboard Shortcuts
Apple has already come out with new M1 and M2 versions of Macs, but how you take a screenshot using keyboard shortcuts remains the same.
1] Press and hold Command+Shift+3: This will grab the entire screen.
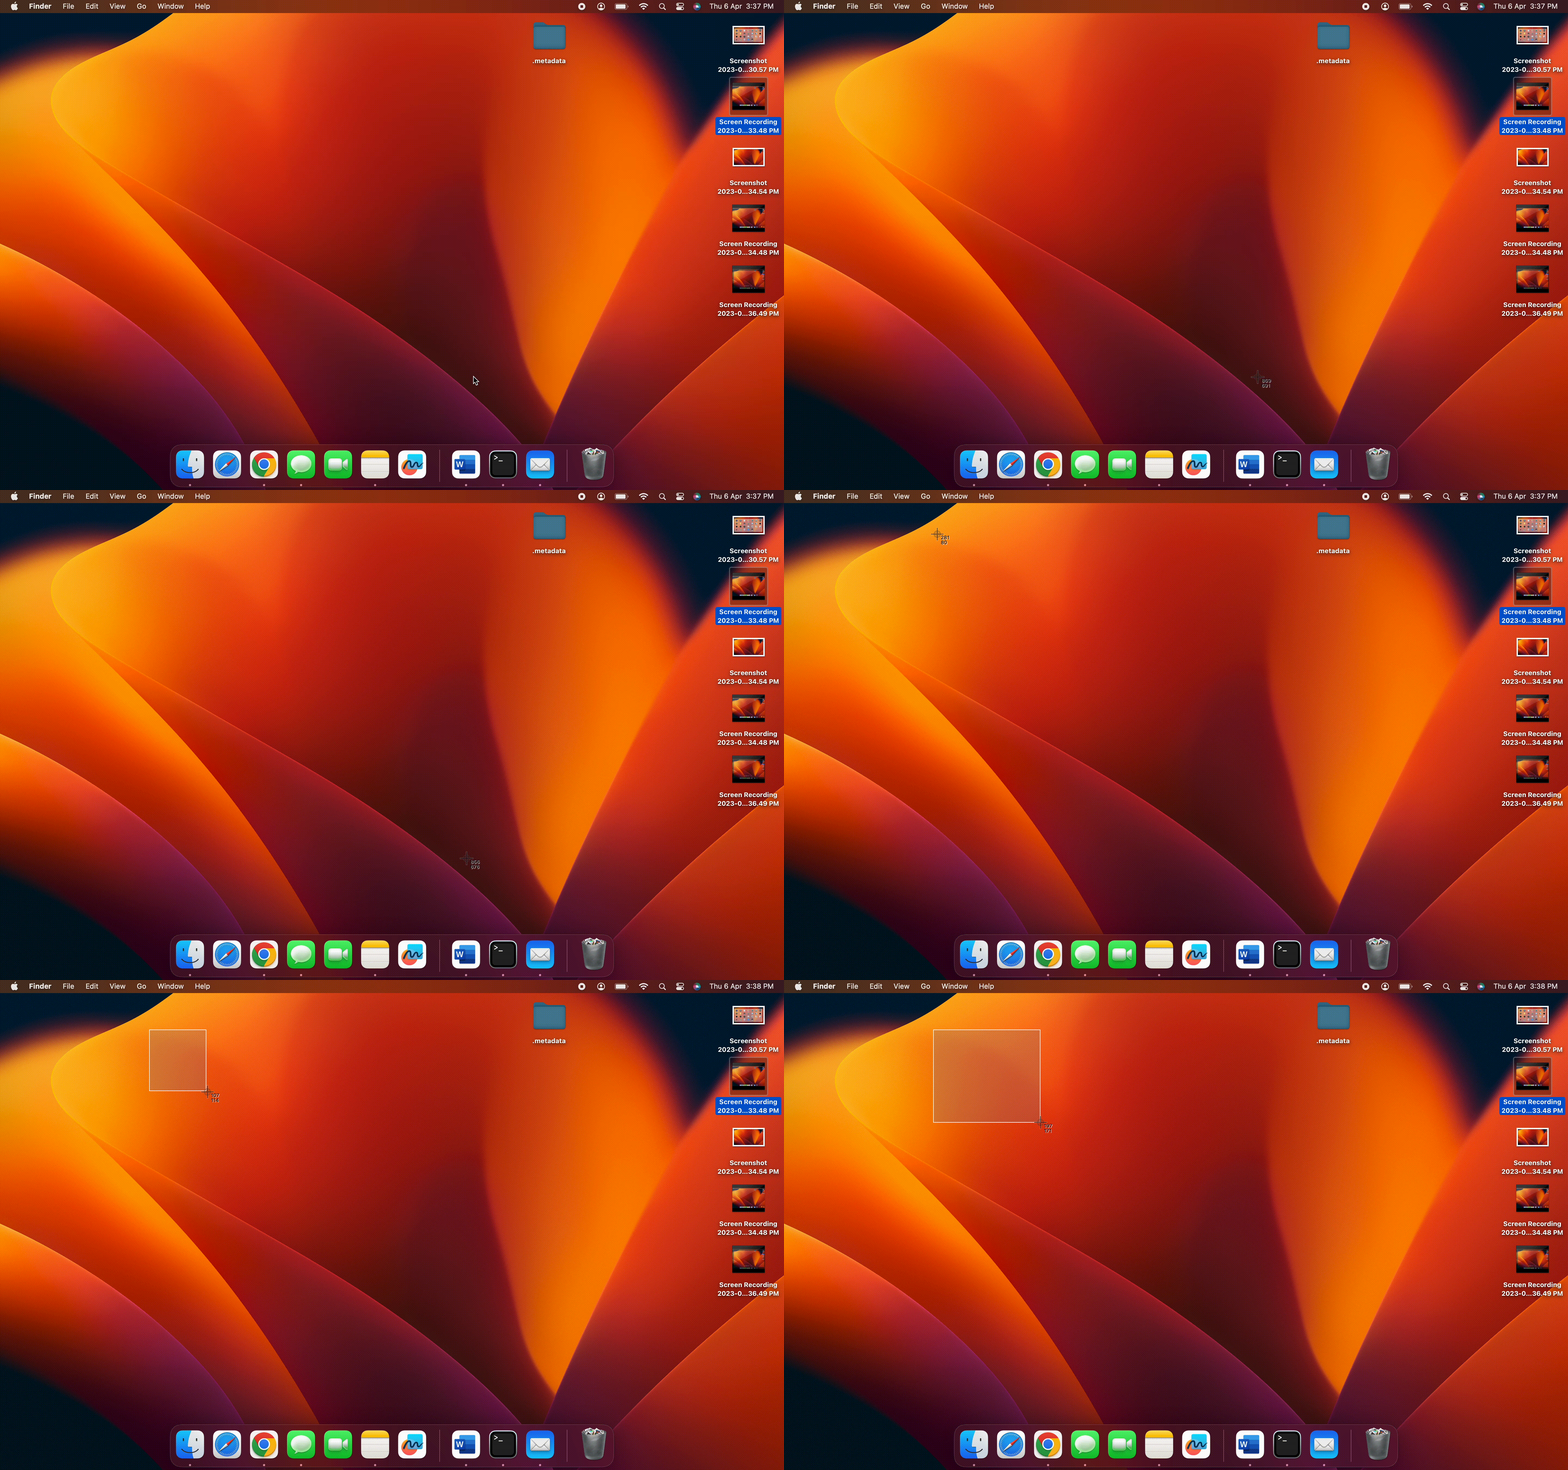
2] Press and hold Command+Shift+4: This key combination will turn your cursor into a crosshair. You can drag to select a portion of the screen you want to capture and then, release the mouse button or trackpad to save it. Press the Esc key to cancel the action, if needed.
3] Press and hold Command+Shift+5:This option activates a floating toolbar that gives you various options. You can use it to grab the entire screen, a window, or a just specific part via custom selection. Alternatively, you can also record your screen. Alongside it, you’ll find an Options button. It lets you choose the location for the files to be saved and Capture button on the right end of the command bar.
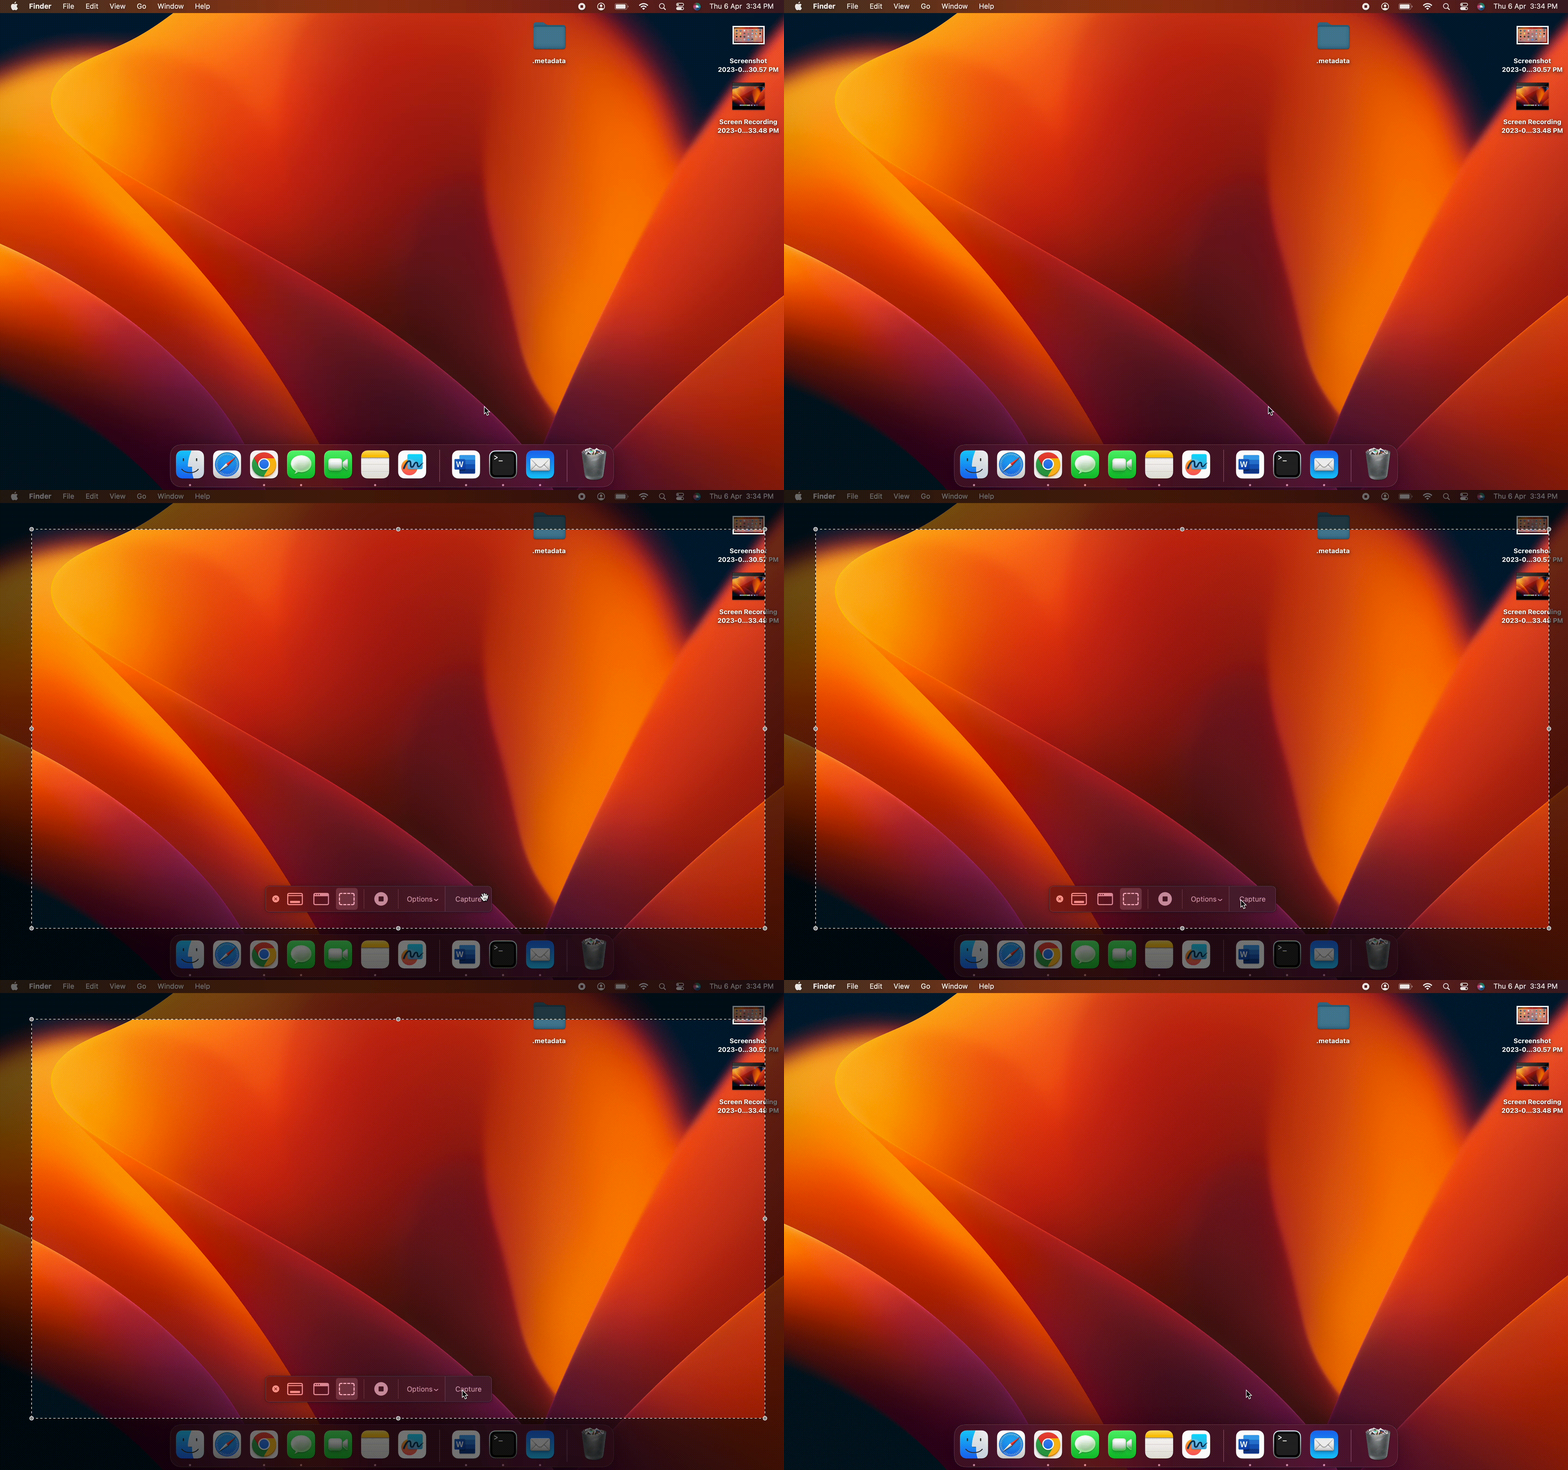
4] Press and hold Command+Shift+6:If you own a MacBook Pro model that has a Touch Bar, use this key shortcut to take a screenshot.
How do I set a default JPEG on a Mac?
By default, all the images you capture are saved as .png files. As such, the size of these files can go large, especially if you have a large Retina display monitor. You can switch to .jpg format with a little bit of tweaking through the Terminal app. For this, do the following.
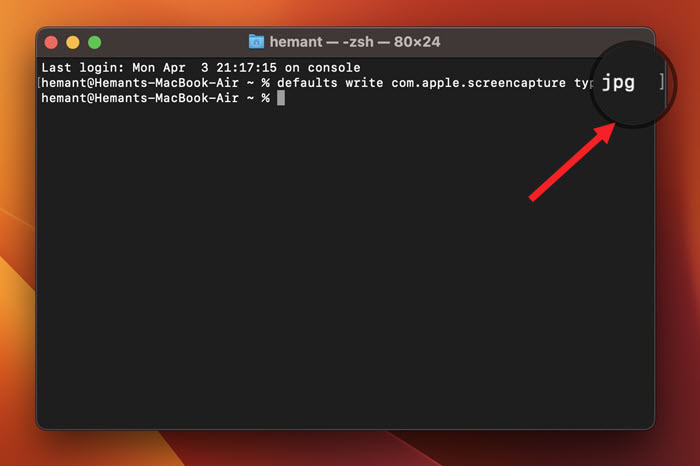
Open Launchpad, navigate to the ‘Other’ section, and select the Terminal app to launch it. Enter the following line of text inside the new window:
defaults write com.apple.screencapture type jpgEnter your password when prompted. Then, restart the computer to allow the changes to take effect. Hereafter, all your screenshots will be saved in jpg format, as specified. You can change it back to the default option by typing the above command with PNG at the end instead.
Also, read about how to convert PDF to JPG on a Mac.

